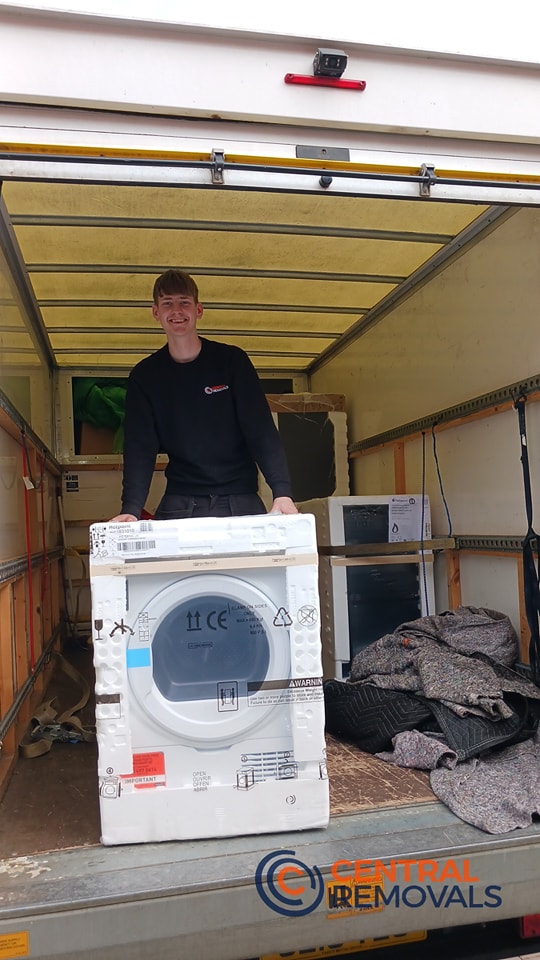
Moving a washing machine can seem daunting. After all, it is a bulky appliance with delicate parts that should be handled with the utmost care. However, if you follow a step-by-step approach, the process can be straightforward, whether you are relocating your home or rearranging your laundry area. In this guide, we will break down the process into three stages: preparation, moving, and installation.
Stage 1 |
Preparation |
Preparation is the key to moving the washing machine. Skipping this stage can lead to damage, leaks, and even injury.
Gather Your Supplies
Before starting, collect all important and necessary tools and equipment, such as:
- Adjustable wrench and pillars
- Screwdrivers
- Appliance dolly
- Moving blankets or towels
- Packing tape or bungee cord
- Bucket & Dolly
- Gloves & Straps
Empty the Washing Machine
Check the machine for any clothes and other items. Remove them to avoid extra weight or any severe damage.
Disconnect the Water Supply
Unplug the washing machine from the electrical outlet. Then, turn the water supply valves, which are commonly located at the back of the washing machine. Use a wrench for disconnecting the water hoses from the wall and then from the machine. Be prepared for a water spill. Place your bucket beneath the hoses for catching any drips.
Drain Excess Water
Even after disconnecting, some water remains in the washing machine. Check the drain hose or hole in the bottom of the panel. Open it carefully, let the water drain out in the bucket, and dry the interior to protect it from any water damage.
Secure the Drum
The drum inside the washing machine can shift during transit, damaging the appliance. To avoid this damage, transit bolts are often included with the washing machine when you first buy it. If you no longer have them, pad the drum with soft materials.
Our Services


Stage 2
Moving the Machine
Protect the Machine: Wrap the washing machine with moving blankets or towels to protect it from scratches and dings. Secure the coverings with packing tape or bungee cords for keeping everything in place while the washing machine is being transported.
Position the Dolly: Place the appliance dolly at the back of the washing machine. Carefully tilt the machine backwards while your helper slides the dolly underneath. Make sure the weight is balanced for avoiding the issue of tipping.
Secure the Washing Machine: Use straps for securing the washing machine to the dolly. It prevents it from getting slipped off during transportation.
Move Slowly and Steadily: When moving the washing machine, take your time. Navigate tight spaces and stairs with caution, keeping the dolly tilted slightly backward for balance. If you’re going downstairs, one person should guide you from the top while another supports you from the bottom.
Load into the Vehicle: If you’re transporting the washing machine to a new location, ensure it’s placed upright in the moving vehicle. Laying it on its side can lead to damaging its internal parts. Secure it with straps to prevent movement during transit..
Stage 3:
Easy Installation
Now that you’ve successfully moved the washing machine to its new location, the final step is to install it correctly.
Position the Machine: Place the washing machine in its designated spot, making sure there’s enough area around it for proper ventilation. Check that the floor is level to avoid excess vibration during operation.
Reconnect the Water Supply: Attach the water hoses and wall valves to the machine. Ensure the connections are tight but also avoid over-tightening them. Turn on the water supply and check for possible leakages.
Plug It In: Connect the washing machine to a grounded electrical outlet. Avoid the use of extension cords, as they can pose a safety risk.
Test the Machine: Run a quick test cycle without any clothes. Check for leaks, strange noises, or error messages. This step ensures everything is connected properly and functioning as it should.
Additional Tips for a Smooth Washing Machine Move
Ask for Help: Washing machines are heavy, often weighing between 60 to 90 kilograms. Always seek help to avoid injury and potential damage.
Plan Your Route: Measure doorways, hallways, and stairs to ensure the washing machine can pass through without issue. Remove obstacles like rugs or furniture beforehand.
Get Professional Movers for Long Distances: If you’re moving a washing machine to a new city or State, consider hiring professionals. They have the equipment and experience to handle the task safely.
Contact Us Today for a Free Quote!
If you’re ready to start planning your move, Central Removals is here to help every step of the way. Get in touch with us today for a free, no-obligation quote and make your move to or from Gloucestershire and Scotland seamless and hassle-free.
Why Proper Handling of Washing Machine Matters?
Washing machines are an investment, and mishandling them during a move can lead to expensive repairs. By taking the time to prepare, move, and reinstall correctly, you’re ensuring the longevity of your appliance. Plus, you’ll save yourself the headache of dealing with potential damage or malfunctions later.
Final Thoughts
Moving a washing machine doesn’t have to be overwhelming. By breaking the process into three manageable stages preparation, moving, and installation—you can handle the task with confidence. Whether you’re a seasoned DIYer or tackling this for the first time, these steps will guide you through the process smoothly.


